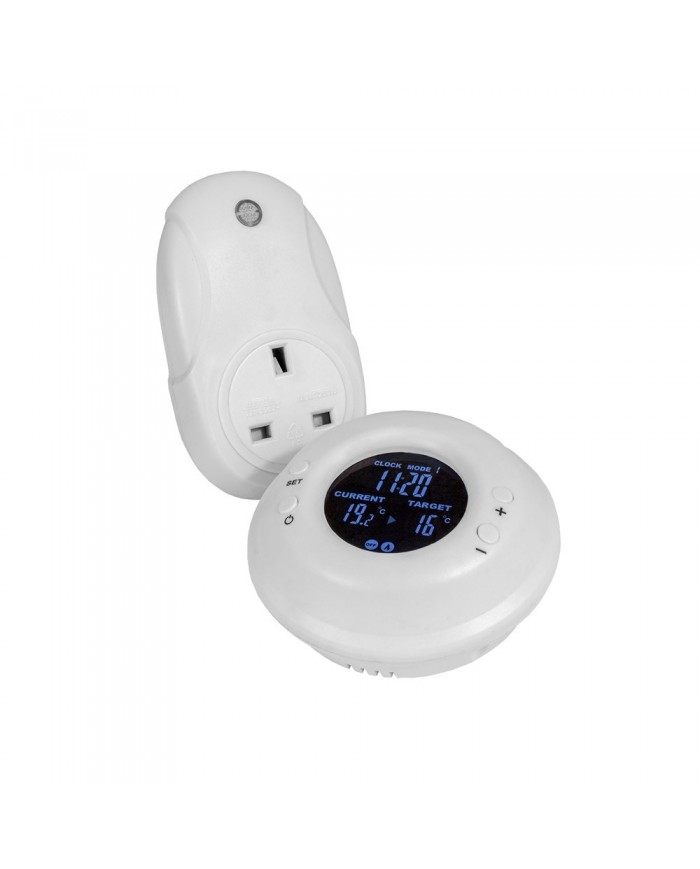


This Wireless Thermostat is comprised of a wireless remote sensor unit that controls a separate plugin switch module. The unit can be set to switch on an electrical appliance when the temperature goes above or below the user-set level. The sensor unit wirelessly turns the plugin switch on allowing power through to whatever is plugged into the front of it. For example, this system could be used to switch on an additional fan when garden temperatures get too warm. It can also be set to switch on a heater if temperatures get too cold. This is all with the convenience of no cables being required to link the 2 parts. The unit can switch up 3000 watts (3KW) which is more than adequate for just about any fan or an oil-filled radiator. The remote sensor can be placed anywhere up to 20 metres away in an open area.
The sensor unit requires 2 x AA batteries (not included). Always put the batteries into the sensor unit and program it before plugging in the remote switch. The display will automatically switch off to preserve battery power after no buttons have been pressed for approximately 10 seconds. Pressing any button will turn the display back on again.
There are four buttons marked "M", "OK", "+" and "-". Pressing the "M" key for 3 seconds begins the basic programming process. The "+" an "-" buttons alter the current setting and the "OK" button confirms the setting
To set the time and the temperature scale (°C or °F), press any button to bring the display up and then press and hold the "M" button for 3 seconds. The display will flash the 12hr or 24hr clock type setting. Pressing the "+" or "-" buttons toggles the display between "12hr" and "24hr". When it displays the type of clock you prefer press the "OK" button to confirm the selection.
The display will now flash the day. Use the "+" and "-" buttons to cycle through the days until the current one is displayed. Press the "OK" button to confirm the selection.
The Hour part of the time will now flash. Use the "+" and "-" buttons to change the Hour part of the time. If you have selected the 12-hour clock, then by going past 12 will toggle the am/pm on the display. Press "OK" when the correct hour and am/pm is displayed.
Next, the Minutes part of the time will flash. Use the "+" and "-" buttons to select the correct minutes. Press "OK" when done.
Next BST (British Summertime) can be selected. Use the "+" and "-" buttons to switch this on or off. Press "OK" when done.
Next select between the temperature scales ”C and °F. Press "OK" when done.
The basic options of the unit are now set.
Next set whether the switch turns on when the temperature goes above the set value (this is "HEAT" mode indicated by an icon with 3 wavey lines), or on when the temperature goes below the set level (this is "COOL" mode indicated by a fan icon). To do this press and hold the "OK" button for 3 seconds. The unit can be toggled between HEAT mode and COOL mode.
To toggle through the override setting, press the "OK" button but do not hold it down, if the wavey line or fan icon is displayed then this means the unit is being temperature controlled. When neither of the icons are displayed then the switch will be either constantly ON or constantly OFF as indicated on the bottom part of the display.
The switching temperature is easily set or changed by just using the "+" or "-" buttons.
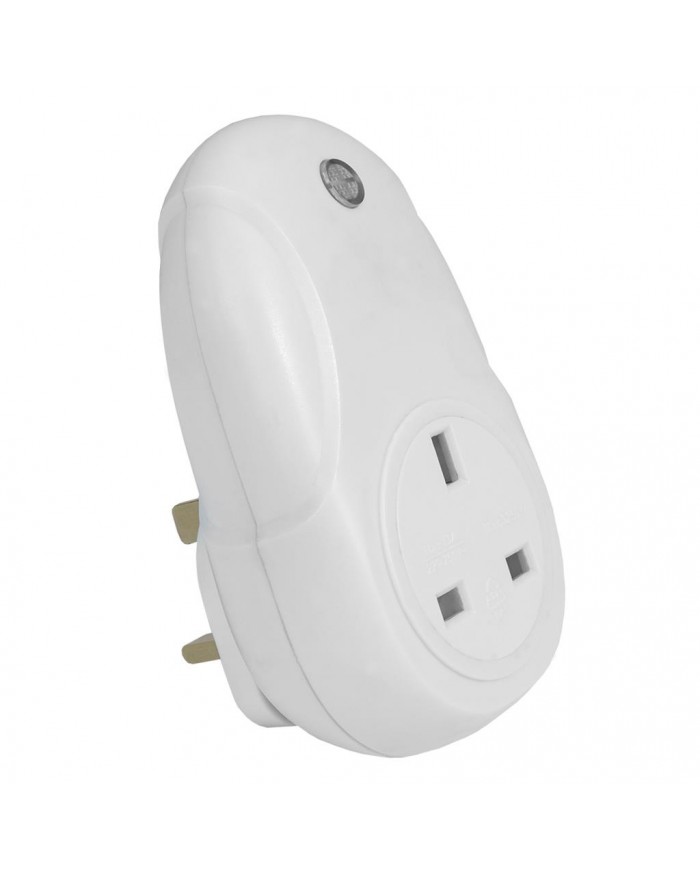
Finally, plug the switch into a mains outlet socket and plug the appliance into the front of. Place the sensor in an appropriate place. The sensor will now switch the appliance on or off according to the programming.
Used to take an accurate amount of concentrate to mix with water or add to your tank. These are a variety of lab grade syringes.
LightHouse StretchNet is made from the highest quality elasticised cord that is knotted into one piece of netting to give additional strength.
Garden HighPro circular drying net has 4 separate trays which clip together with each other using loops.