
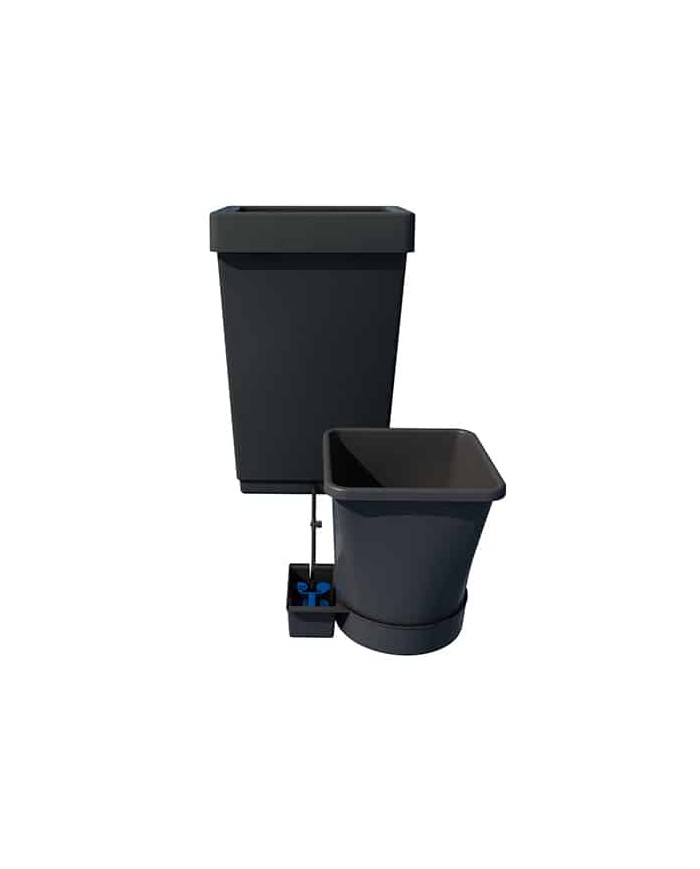
The 1Pot System is extremely versatile and can be used for a wide range of plant types and sizes. Seasonal flowering plants and perennial shrubs thrive and produce an abundance of blooms and foliage because of the unique action of the AQUAvalve V5, which is designed to allow the plant to go through a wet & dry cycle.
The 1Pot System is easily extended so many pots can be linked to a single tank. Please see examples of typical layouts using 9mm pipe or 16mm pipe. The pots & trays can be easily moved at will, if the plants grow too large they can be spaced further apart with ease. Once set up and a tank is filled with water & liquid feed this extremely versatile system will completely take care of all your plants needs.
Kits will need assembling differently depending on the number of pots. This is actually quite a simple process.
Place the circular root control disc at the bottom of the Autopot tray, with metallic side facing up. This will ensure that roots don't grow into the Aquavalve tray and cause blockages that may inhibit the distribution of nutrient. The black marix discs also help to prevent blockages and should be placed in the bottom of your Autopot containers.
Fill the container with your chosen medium and plant out the system. Autopots work best with absorbent mediums with good capillary action. Coco coir is perfect for this, but remember to use coco specific feeds when choosing nutrients. Soil is fine, but heavier grades work best when mixed with up to 50% perlite.
Water your pots from the top down in an external area and allow them to drain fully outside of the Autopot Trays.
Allow 7 – 10 days of top down hand-watering before filling the reservoir.
To check that the Aquavalve is functioning properly, hold it at eye level and take a close look at the yellow silicon which is fitted into the top float. In order for the Aquavalve to function correctly, a tight seal should be formed between this float and the hole that sits underneath it. If it doesn't sit properly over the hole, lift the top float up, remove the yellow silicon and give it a quick clean. When you put it back into position it should form a tight seal.
The Aquavalve should be cleaned after each grow using warm soapy water and a cloth.
IN STORE PRICE - £30
Soil King Big Rootz is carefully formulated for professional growers, yet it’s so easy to use that even novice gardeners can achieve growing success.
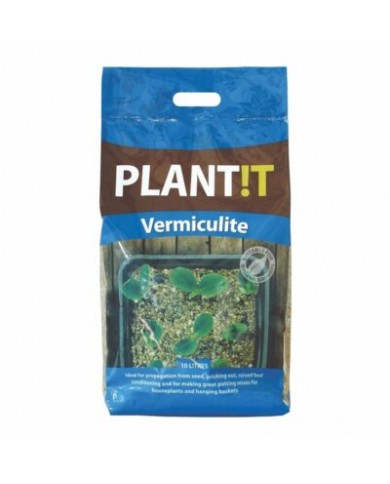
PLANT!T Vermiculite is a natural, sterile soft mica mineral with great water holding and insulation properties.
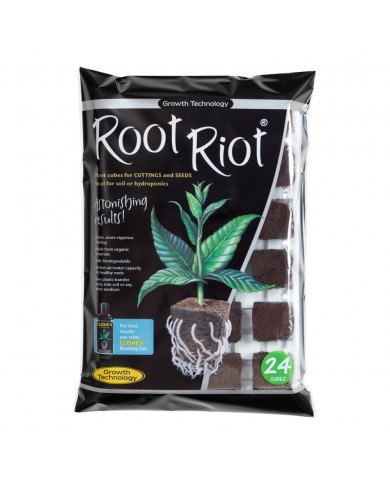
Suitable for both cuttings and seeds, Root Riot consistently outperforms alternative media.